 Save
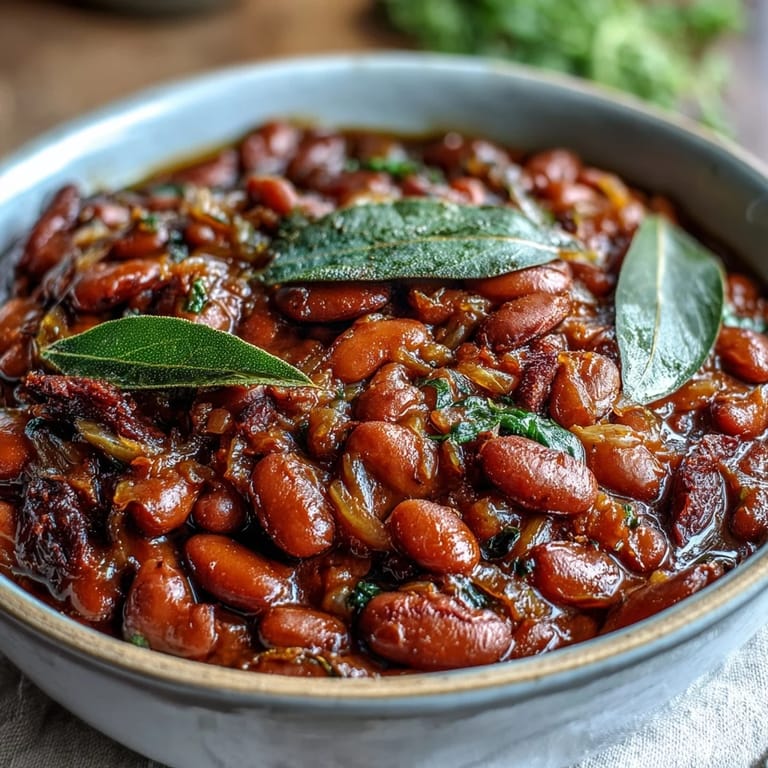
Save My grandmother never measured anything when she made beans, and I spent years trying to decode her handful-of-this method. It was a rainy Tuesday when I finally nailed the ratio that gives you those creamy, tender beans that still hold their shape. Now I keep a batch in the fridge constantly because they transform into whatever meal needs them.
Last winter, my neighbor came over during a snowstorm with nothing but a bag of tortillas. We sat at my kitchen table for three hours, eating these beans straight from the pot and talking about everything. That night taught me that simple food, made with care, creates the best kind of memories.
Ingredients
- Dried pinto beans: Rinse them well and pick out any small stones or shriveled beans before soaking
- Yellow onion: Finely diced so it melts into the beans as they cook, creating natural sweetness
- Garlic: Fresh minced garlic gives better flavor than garlic powder in long simmered beans
- Bay leaves: Two dried bay leaves add subtle herbal depth that makes the beans taste complex
- Olive oil: The fat prevents foaming and adds richness without overwhelming the beans natural flavor
- Cold water: Start with cold water for even cooking, adding more as needed to keep beans submerged
- Kosher salt: Add salt only in the last 10 minutes to prevent beans from becoming tough
Tired of Takeout? 🥡
Get 10 meals you can make faster than delivery arrives. Seriously.
One email. No spam. Unsubscribe anytime.
Instructions
- Soak the beans overnight:
- Place the rinsed beans in a large bowl and cover with 2 to 3 inches of cold water. Let them soak at room temperature for 8 to 24 hours until plump.
- Start the cooking pot:
- Drain and rinse the soaked beans, then transfer them to a Dutch oven or heavy pot. Add the 4 cups of cold water, diced onion, minced garlic, bay leaves, and olive oil.
- Bring to a gentle boil:
- Heat the pot over medium-high heat until it reaches a boil. Use a spoon to skim off any foam that rises to the top for cleaner tasting beans.
- Simmer slowly:
- Reduce the heat to medium-low and let the beans simmer gently, uncovered, for 1 and a half to 2 hours. Stir occasionally and add more water if the beans start to peek above the surface.
- Season perfectly:
- During the final 10 minutes of cooking, stir in the kosher salt. Taste the beans and adjust the salt if needed, keeping in mind they will absorb more flavor as they rest.
- Finish and serve:
- Remove the pot from heat when the beans are tender but still holding their shape. Discard the bay leaves before serving warm, at room temperature, or cooled for later use.
 Save
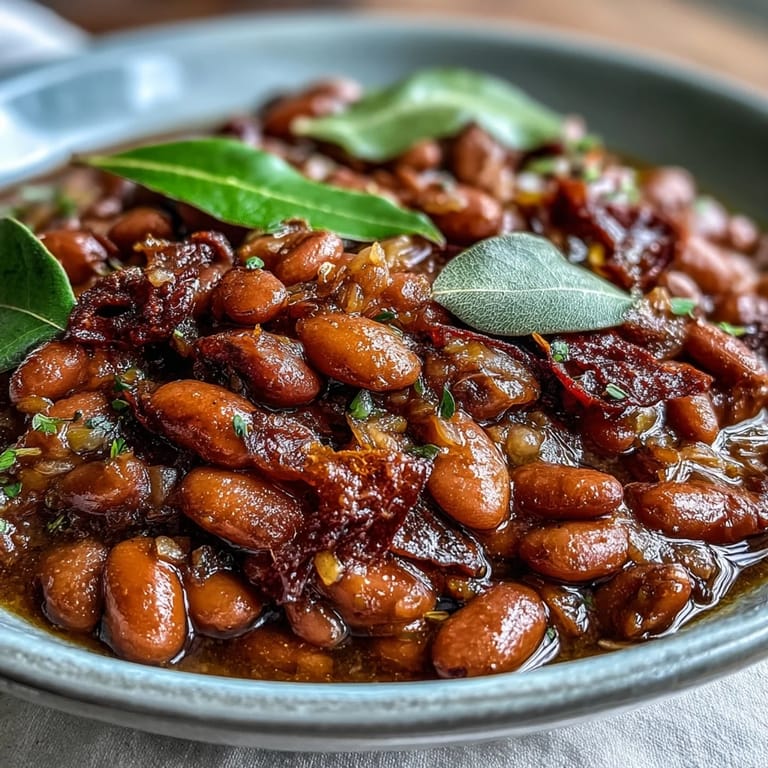
Save These beans became my go-to contribution to potlucks after everyone kept asking for the recipe. Something about serving food that took hours of gentle care makes people feel special, like you cooked just for them.
Building Deeper Flavor
The recipe as written is perfect for everyday meals, but adding a smoked ham hock or bacon during simmering transforms these beans into something extraordinary. The meat infuses the cooking liquid with smoky depth while the bay leaves add their herbal perfume. Even a single dried chili pepper tucked into the pot creates a subtle warmth that keeps people coming back for another spoonful.
Making Refried Beans
Any leftover beans can become creamy refried beans the next day. Warm a skillet with a little oil, add the cooked beans along with some of their cooking liquid, then mash them with a wooden spoon or bean masher until they reach your desired consistency. The result is infinitely better than canned versions and takes just minutes.
Storage and Meal Prep
Cooked beans keep beautifully in the refrigerator for up to 5 days, actually developing more flavor as they sit. Portion them into containers with some of their cooking liquid to prevent drying out.
- Freeze cooled beans in freezer bags for up to 3 months
- Label bags with the date so you use the oldest batches first
- Thaw frozen beans in the refrigerator overnight before using
 Save
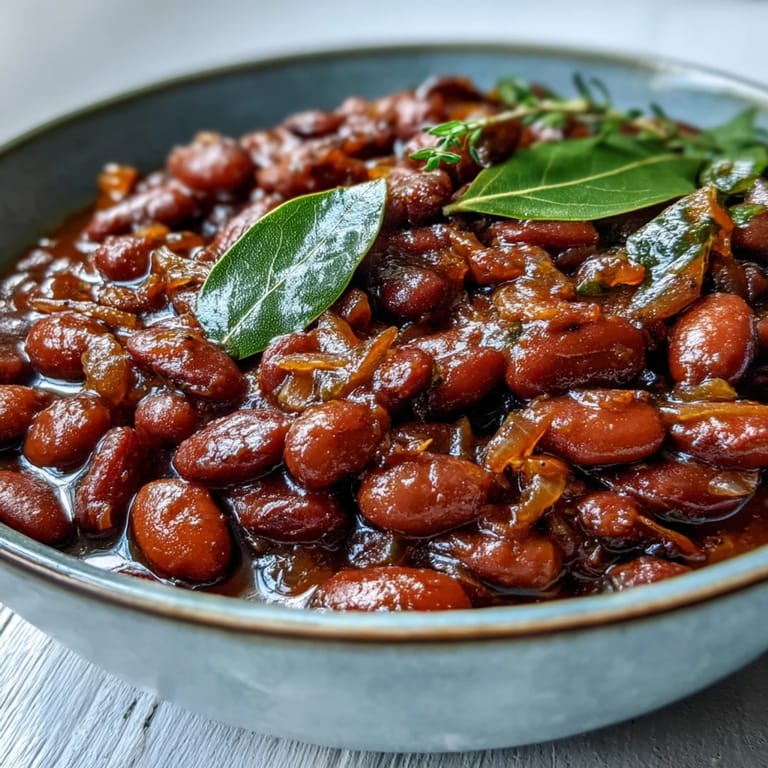
Save There is something deeply satisfying about a pot of beans simmering on the back burner. The smell alone feels like home.
Recipe FAQs
- → Do I really need to soak pinto beans overnight?
Yes, soaking ensures even cooking and reduces cooking time significantly. Unsoaked beans may cook unevenly, resulting in some mushy pieces while others remain tough. The overnight hydrates the interior, allowing for tender, creamy results throughout.
- → Can I use canned pinto beans instead?
Canned beans work in a pinch, but they lack the creamy texture and depth of flavor achieved through slow-cooking dried beans. Freshly cooked beans also absorb the aromatic seasonings better during the simmering process.
- → Why add salt at the end instead of the beginning?
Adding salt in the last 10 minutes prevents beans from becoming tough. Early salting can interfere with the softening process, resulting in beans that never fully tenderize regardless of cooking time.
- → How do I know when the beans are done?
Perfectly cooked pinto beans should be tender and creamy when gently pressed between your tongue and the roof of your mouth. They should hold their shape but offer no resistance, with skins intact but not mushy or falling apart.
- → Can I freeze cooked pinto beans?
Absolutely. Cool the beans completely, then transfer to freezer-safe bags or containers with some cooking liquid. They freeze beautifully for up to 3 months and reheat well in the microwave or on the stovetop with a splash of water.
- → What's the purpose of olive oil in the cooking liquid?
Olive oil adds richness and helps create a velvety, luxurious texture. The fat coats the beans as they simmer, preventing them from becoming mealy or dry while contributing subtle fruity notes that complement the earthy pinto flavor.