Save
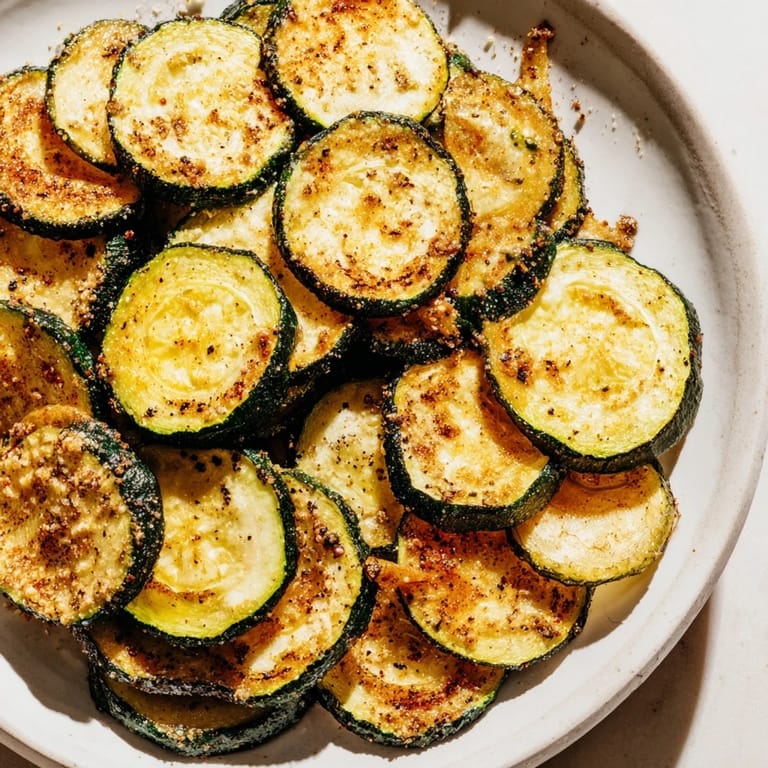
Save My neighbor brought over a bag of store-bought vegetable chips one afternoon, and I remember thinking how expensive they were for something so simple. That evening, I stood in front of my crisper drawer staring at two zucchinis that were getting soft, and suddenly it clicked—why not just make them myself? Two hours later, my kitchen smelled like toasted vegetables, and I'd discovered something better than any snack aisle could offer: crispy, golden rounds that actually tasted like real food.
Last summer, I made these for a pool party, stacked them in a mason jar with a little sign, and watched people keep reaching for them instead of the regular chips. My friend Sarah asked for the recipe before she even finished her first handful, and now she texts me photos of her own batches. That's when I knew this wasn't just a way to use up zucchini—it was something people genuinely wanted.
Ingredients
- 2 medium zucchinis: The foundation of everything—pick ones that are firm and about the same thickness so they cook evenly, and skip anything soft or overly large.
- 1 tablespoon olive oil: Just enough to help them get golden without making them greasy, which is the whole point.
- 1/2 teaspoon sea salt: Brings out the zucchini's natural flavor in a way table salt never quite does.
- 1/4 teaspoon freshly ground black pepper: A small amount goes a long way since the chips are so thin.
- 1/2 teaspoon garlic powder (optional): If you want them to taste savory and a little more like an actual chip.
- 1/2 teaspoon smoked paprika (optional): Adds a subtle warmth and makes them taste less "healthy" and more indulgent.
Tired of Takeout? 🥡
Get 10 meals you can make faster than delivery arrives. Seriously.
One email. No spam. Unsubscribe anytime.
Instructions
- Heat your oven and prep your space:
- Set the oven to 225°F and line two baking sheets with parchment paper—this low temperature is what makes them crispy instead of chewy.
- Slice your zucchini thin and evenly:
- Wash and dry the zucchinis completely, then slice them into rounds about 1/8 inch thick using a mandoline if you have one, or a sharp knife if you don't. Uneven slices bake unevenly, so take your time here.
- Dry them thoroughly:
- Pat each slice with paper towels to remove as much moisture as possible—this is the secret to actual crispiness rather than soggy disappointment.
- Season generously and toss:
- In a bowl, coat the zucchini with olive oil and your seasonings until every slice is lightly covered.
- Arrange them single-layer:
- Spread them on the baking sheets without overlapping—they need air flow all around to crisp up properly.
- Bake low and slow:
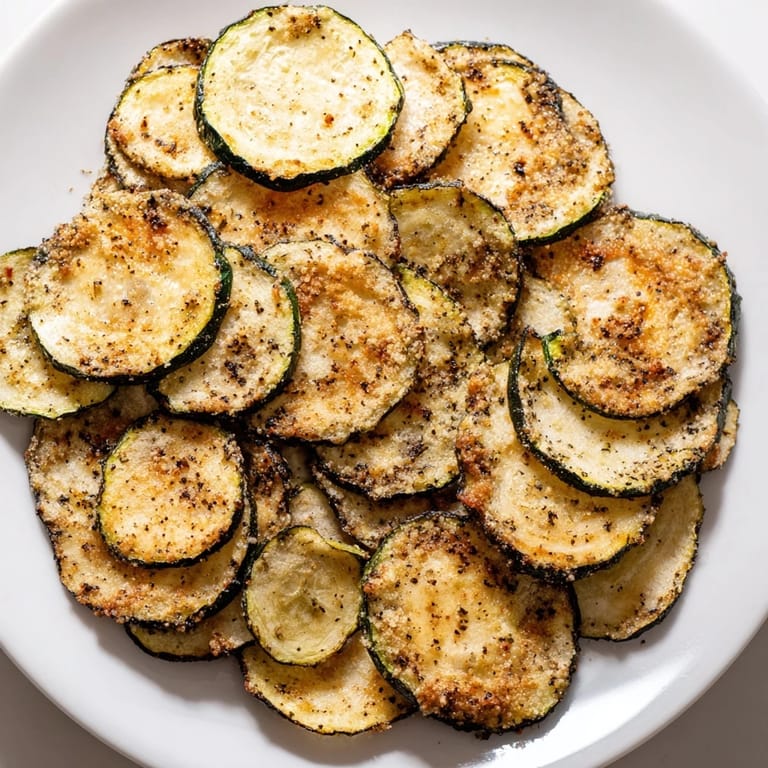
- After one hour, rotate the pans and flip each chip, then bake another 30 to 40 minutes until they're golden and bend slightly when you pick them up.
- Cool completely:
- Let them sit on the baking sheets even after they come out—they crisp up even more as they cool, which is when they get that real chip texture.
 Save
Save My roommate walked into the kitchen while a batch was cooling and grabbed one right off the sheet without asking, then made a face like he was tasting something impossible. I realized then that homemade meant something different to him—less artificial, more real, worth stealing straight from the pan.
The Texture Secret
The magic happens in those last 30 to 40 minutes when they transform from tender slices into actual chips. If you open the oven and they still feel soft, don't panic—just keep going. I learned the hard way that checking too often lets out heat and extends the time, so trust the process and step away.
Flavor Variations That Work
Plain salt and pepper is perfect, but I've gotten adventurous with chili powder for a subtle kick, Italian herbs when I'm feeling Mediterranean, and even a dusting of nutritional yeast for something cheesy. Each version feels like a different snack, even though you're starting with the same zucchini every time.
Storage and Keeping Them Crispy
These are genuinely best eaten the day you make them, when the crispiness is at its peak. If you do have leftovers, keep them in an airtight container and they'll hold up reasonably well for a couple of days, though they'll slowly soften.
- An airtight container is non-negotiable if you want to preserve crunch.
- If they start to soften, a quick minute in a low oven brings the crispiness back.
- Make two batches if people are coming over—they disappear faster than you'd think.
 Save
Save There's something satisfying about turning something you were about to throw away into something people actually crave. These chips remind me that sometimes the best snacks come from paying attention to what's sitting in your kitchen.
Recipe FAQs
- → How thin should zucchini slices be for crispiness?
Thin slices about 1/8 inch (3 mm) ensure even baking and a crisp texture.
- → What temperature is best for baking zucchini chips?
Baking at 225°F (110°C) slowly dries the slices to achieve a perfect crunch without burning.
- → Can I use different seasonings for variety?
Yes, options like chili powder, Italian herbs, or nutritional yeast add unique flavors.
- → How do I store the chips to keep them crispy?
Store in an airtight container and consume within 2 days for best crispness.
- → Are these zucchini chips suitable for special diets?
They fit vegetarian, gluten-free, and low-carb preferences due to their simple ingredients.