 Save
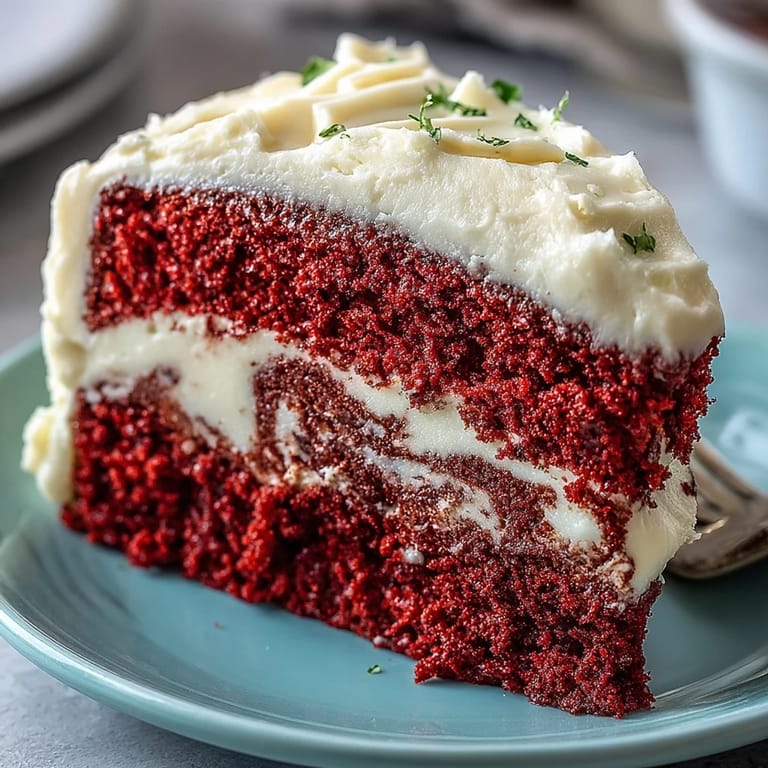
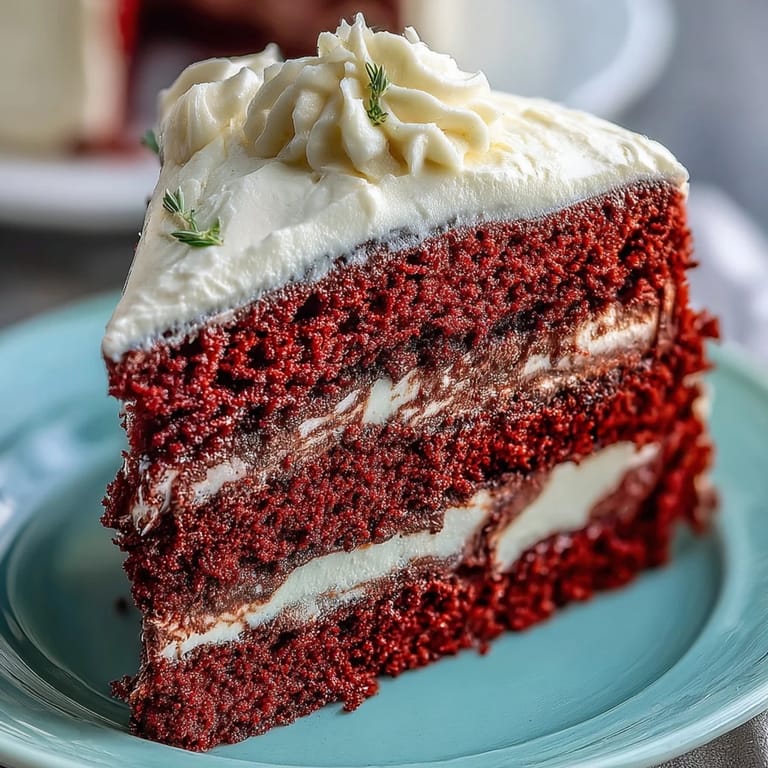
Save At first glance, a Red Velvet Cake might seem like just another dessert. But the vibrant red color and the velvety texture tell a deeper story, one that connects to celebrations and joy, particularly during Juneteenth. I remember the first time I witnessed a lavish cake like this at a family gathering, its ruby hue brightening the table, sparking laughter and conversation. The aroma of cocoa and vanilla filled the air, drawing everyone nearer to the dessert like bees to flowers. It was then I knew this wasn’t merely a treat; it was a celebration of heritage and love.
This Red Velvet Cake holds a special place in my heart because it was a staple at my grandmother's Juneteenth celebrations. Each year, as the summer sun started to set, friends and family would gather around the table adorned with this stunning cake. The first slice was always met with cheers, and I cherished the smiles on faces taking their first bites—it felt like sharing a little piece of history with each forkful.
Ingredients
- All-purpose flour: Essential for that perfect structure and can be sifted for a lighter texture.
- Granulated sugar: This helps in creating a moist cake, and I prefer to use fine sugar for smooth blending.
- Cocoa powder: Adds a subtle chocolate flavor without overpowering the red hue of the cake.
- Vegetable oil: Ensures a moist and tender crumb—just don’t skip it!
- Buttermilk: This ingredient really enhances the flavor and tenderness of the cake.
- Red food coloring: It’s crucial for that iconic color; adjust as needed for more vibrancy!
- Cream cheese: It creates a tangy frosting that perfectly balances the sweetness of the cake.
- Powdered sugar: Essential for the frosting’s smooth texture—sifting it makes a world of difference.
Tired of Takeout? 🥡
Get 10 meals you can make faster than delivery arrives. Seriously.
One email. No spam. Unsubscribe anytime.
Instructions
- Preheat and Prep:
- Begin by preheating your oven to 350°F (175°C) and greasing two 9-inch round cake pans to ensure no sticky mishaps later.
- Mix the Dry Ingredients:
- In a bowl, sift together the flour, sugar, baking soda, salt, and cocoa powder, ensuring you have a light, airy mix.
- Combine Wet Ingredients:
- In a separate bowl, whisk the oil, buttermilk, eggs, red food coloring, vinegar, and vanilla until they’re a bright, unified mixture.
- Bring it Together:
- Gradually combine the dry ingredients with the wet ones, stirring gently to avoid overmixing—the batter should be just mixed with a few lumps.
- Bake the Cakes:
- Pour the batter into prepared pans and bake for 28-32 minutes, or until a toothpick inserted in the center comes out clean—keep an eye on them!
- Cool Down:
- Let the cakes cool in the pans for 10 minutes, then transfer them to a wire rack to cool completely—patience is key!
- Make the Frosting:
- Beat together the cream cheese and butter until fluffy, then gradually add powdered sugar, vanilla, and a pinch of salt for a creamy finish.
- Assemble:
- Once the cakes are cool, spread a generous layer of cream cheese frosting in between layers, and cover the top and sides to make it beautifully decadent.
 Save
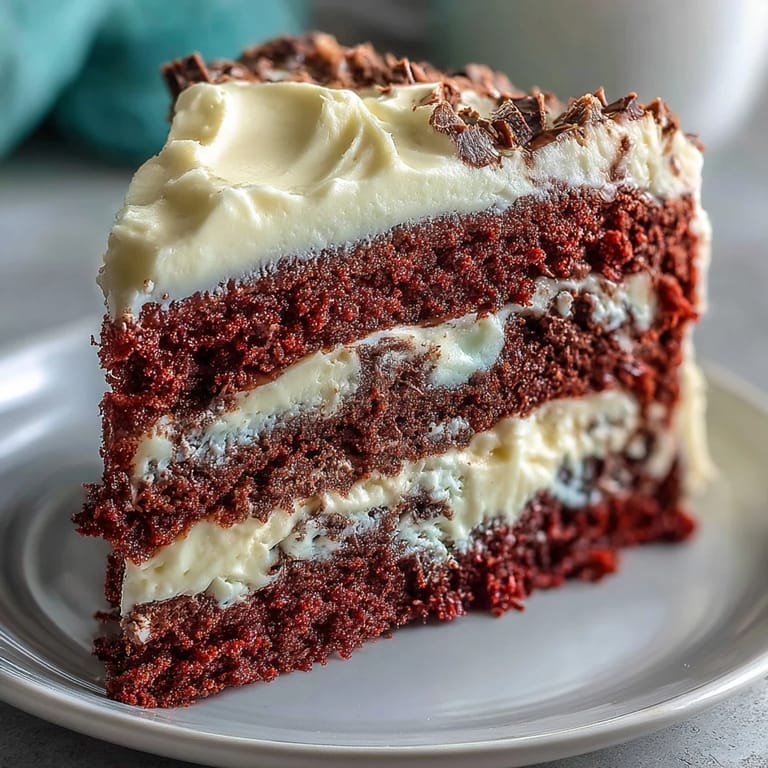
Save This cake grew to symbolize more than just a dessert at gatherings; it became a conversation piece, sparking tales of ancestry and shared memories with every slice. Its vibrant color often led to discussions about cultural significance, drawing connections to the joyous spirit of Juneteenth.
Baking as a Joyful Art
Every time I bake this cake, I’m reminded that cooking is as much about the love you put in as it is about the ingredients. The laughter and stories shared while frosting these layers are as nourishing as the cake itself.
Creating Flavorful Variations
Don’t shy away from experimenting—try adding a hint of orange zest to the frosting for a delightful citrus twist! Little changes can breathe new life into a loved classic.
Embracing the Unexpected
Sometimes, things don’t go according to plan in the kitchen!
- Don’t stress if you overbake; a drizzle of cream or sauce can save the day.
- The flavors can always shine through, regardless of minor hiccups.
- Remember, the best memories often come from those imperfect moments!
 Save
Save As you gather around to enjoy this cake, let each bite remind you of the love and history it represents. Here’s to creating beautiful moments with family and friends—one slice at a time!
Recipe FAQs
- → Can I make this cake in advance?
Yes, you can prepare this cake a day ahead. Store it covered in the refrigerator to keep it fresh.
- → What can I use instead of buttermilk?
If you don’t have buttermilk, you can make a substitute by mixing regular milk with a bit of vinegar or lemon juice.
- → How do I achieve a deeper red color?
To make your cake more vibrant, you can adjust the amount of red food coloring to your desired shade.
- → Is this cake suitable for vegetarians?
Yes, this red velvet cake is vegetarian-friendly as it contains no meat products.
- → Can I add nuts to the cake?
Yes, you can fold in some chopped nuts to the batter if desired. Just be aware of any allergy concerns for your guests.