 Save
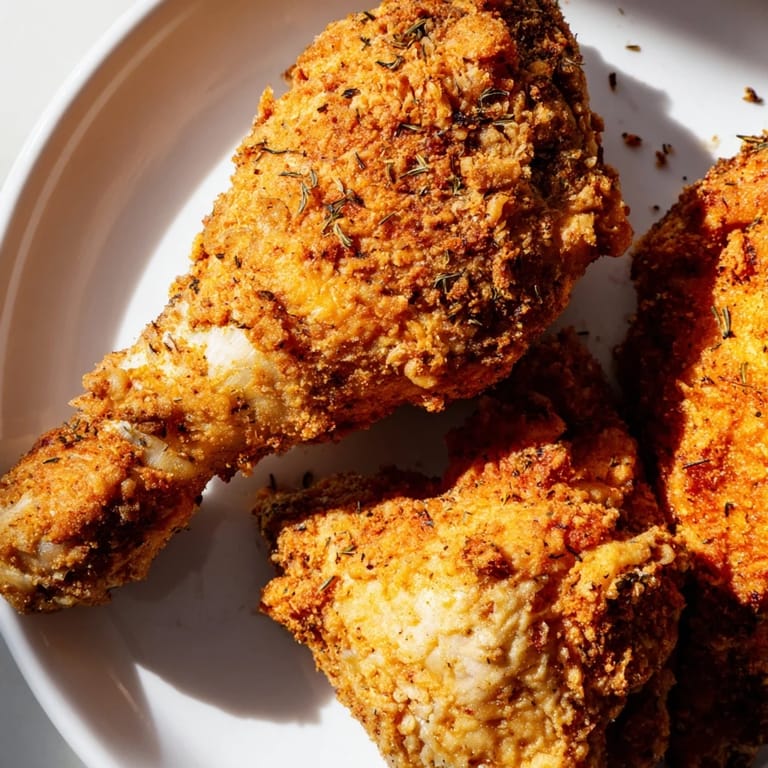
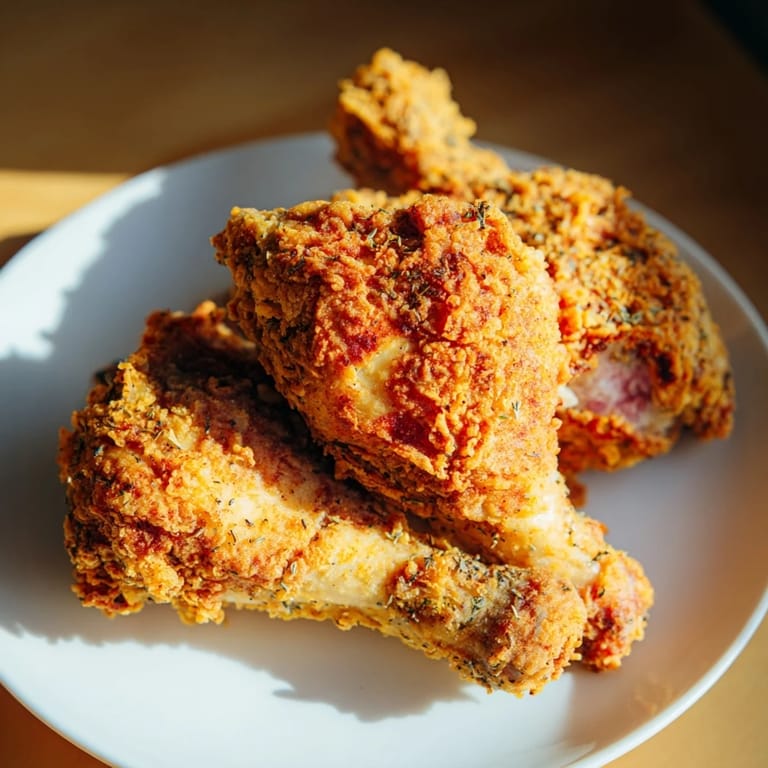
Save I was standing in a KFC drive-thru line at 11 PM, drumsticks in hand, when my friend asked if I could ever recreate that golden, shattering crust at home. Three weeks of testing later—and after a few batches that landed somewhere between cardboard and grease—I cracked the code: it wasn't just paprika and salt, but the layered dance of seven herbs and spices working together. Now I fry these in my own kitchen, and honestly, the smell alone makes people forget they're not sitting in that red-and-white bucket.
My roommate came home from a terrible day at work, and I had this chicken hot and ready—watching his whole face change when he bit into that first piece, eyes closing for a second, felt like I'd done something real. He didn't say anything for a minute, just kept eating, and that silence was worth more than any compliment.
Ingredients
- Chicken (8 pieces, skin-on, bone-in): Skin crisps up like a miracle in hot oil, and bones keep the meat impossibly juicy—don't skip this detail.
- Buttermilk (250 ml): The acid tenderizes the chicken while creating a sticky base that holds the coating like glue.
- All-purpose flour (200 g): This is your armor; make sure it's completely dry before mixing in spices.
- Paprika (2 tsp): The soul of the blend—gives that warm, slightly sweet color and flavor without overpowering.
- Garlic powder, onion powder, dried thyme, basil, oregano (1 tsp each): Together they create savory depth that tastes impossibly complex for such simple ingredients.
- Celery salt, white pepper, black pepper, mustard powder, ground ginger, cayenne, sage (½ tsp each): These are the secret layers—individually small, but together they're what makes this taste like the real thing.
- Vegetable oil (1 liter): Use neutral oil that won't smoke below 350°F; any hotter and the outside burns before the inside cooks.
Tired of Takeout? 🥡
Get 10 meals you can make faster than delivery arrives. Seriously.
One email. No spam. Unsubscribe anytime.
Instructions
- Build your marinade:
- Whisk buttermilk with salt and black pepper in a large bowl, then submerge all chicken pieces, turning each one to coat completely. This usually takes longer than you'd think—let every crevice get the buttermilk treatment.
- Refrigerate and wait:
- Cover and leave in the fridge for at least an hour, though overnight is when the magic deepens. The acid in buttermilk will soften the chicken fibers while you sleep.
- Blend your spices:
- In a separate bowl, combine all your seasoned flour ingredients and whisk or stir until the spices are evenly distributed—any clumping will give you bland spots on the finished chicken.
- Coat with intention:
- Lift chicken from marinade, let excess drip off for a few seconds, then dredge each piece in the flour mixture, pressing firmly so the coating really adheres. The pressure matters; you're not just dusting—you're sealing.
- Let it rest:
- Set coated pieces on a wire rack and wait 10 minutes; this helps the flour mixture stick rather than flake off in the oil.
- Heat your oil:
- Get your oil to exactly 170°C (340°F)—use a thermometer because eyeballing this is where most home cooks fail. Too cool and it'll be greasy; too hot and the outside burns.
- Fry in batches:
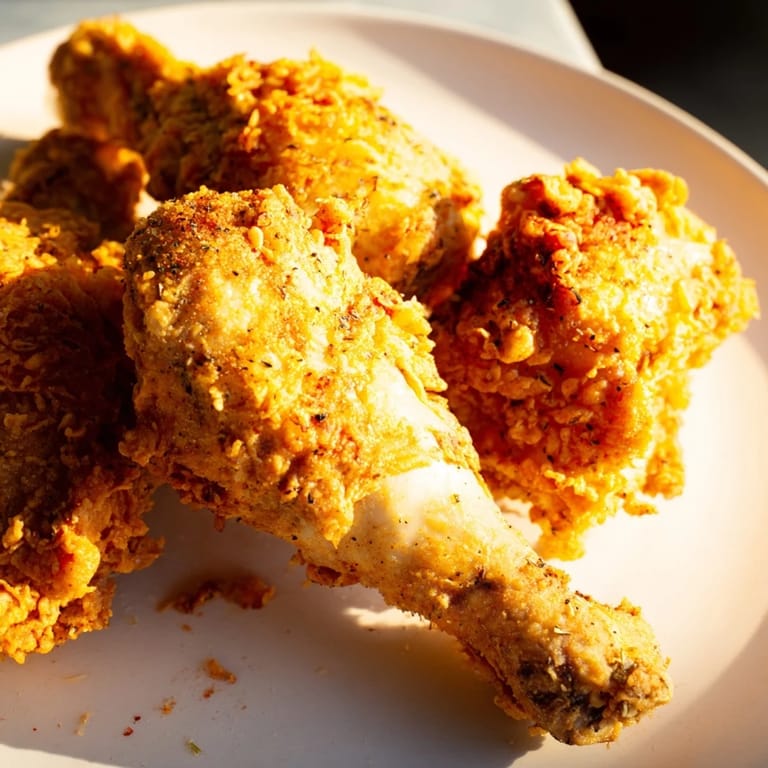
- Work in small groups so the oil temperature stays steady, turning each piece occasionally for even golden-brown color. This usually takes 12–15 minutes depending on piece size.
- Drain and rest:
- Lay finished chicken on a wire rack (not paper towels if you can help it—the rack keeps the bottom from steaming) and let it sit for 5 minutes before anyone touches it.
 Save
Save My sister asked for this recipe after tasting it, which meant I'd officially created something worth passing on—not a restaurant imitation, but my own small kitchen triumph that happened to remind her of somewhere else. That moment made me realize this wasn't just about replicating a flavor; it was about understanding why it works.
The Secret Behind the Crust
The crust works because you're not trying to be fancy—you're respecting simple techniques and ratios that have been proven a million times over. The combination of buttermilk's acidity, the flour's hydration, and the oil temperature creates a Maillard reaction that tastes like home, not like nostalgia. When you nail the temperature, everything else falls into place almost automatically.
Timing and Temperature Matter
I learned the hard way that chicken continues cooking slightly after you pull it from the oil, so pulling it at 73°C instead of waiting for 75°C gives you that juicy interior you're after. Every oven and fryer is different, so trust your thermometer more than any timer. The oil temperature is what actually controls doneness here—maintain it ruthlessly, and the chicken will reward you.
Beyond the Basic Batch
Once you've mastered this version, small tweaks let you make it your own without losing what makes it work. Some nights I add a pinch of smoked paprika, other times I lean into the cayenne if I'm craving heat. The framework is solid enough to play with, and that's what separates a recipe from a template.
- Try the double-dip method for an even crunchier shell: dip coated chicken back into buttermilk, then coat in flour again before frying.
- Serve immediately with coleslaw and biscuits to channel that full fried-chicken experience in your own home.
- Leftover chicken stays crispy in an airtight container for 2 days, and reheats beautifully in a 180°C oven for 10 minutes.
 Save
Save This recipe became my answer to the question 'Can you make restaurant food at home?' and the honest answer turned out to be yes. Every time someone tries it, I feel that same quiet pride knowing I figured something out in my kitchen that tastes like it came from somewhere legendary.
Recipe FAQs
- → What is the key to achieving crispy chicken coating?
Marinating chicken in buttermilk softens the meat while the seasoned flour blend, pressed firmly and rested before frying, creates a crispy, flavorful crust.
- → How can I adjust the heat level of the seasoning?
Modify the amount of cayenne pepper to increase or decrease the spiciness according to your preference.
- → Is it necessary to double-dip the chicken before frying?
Double-dipping by dunking the chicken again in buttermilk and flour enhances the coating’s thickness and crispiness but is optional.
- → What is the recommended frying temperature for best results?
Maintain the oil temperature around 170°C (340°F) to ensure even cooking and a golden, crunchy exterior without burning.
- → Can this cooking method be adapted for air frying?
Yes, air frying can produce a lighter version while retaining much of the crispiness, though frying in oil gives a traditional texture.